8) Cookie cutter projects and IDES for organized, delightful programming
Related links:
- https://cookiecutter.readthedocs.io/en/latest/readme.html
- https://www.jetbrains.com/help/pycharm/meet-pycharm.html
- http://swcarpentry.github.io/python-novice-inflammation/
- https://matplotlib.org/users/pyplot_tutorial.html
Plan for today: Good programming workflow using python, git, and IDEs
Last class, I shared a part of a git workflow for good software development, but we were only using text files to simplify learning git. We will build on this today by making a python project. This happens to be something that can be done quite simply in other ways (e.g. in Excel) but the value in making a nice project will be that the actions will be consistently repeatable without errors (since we’ll be checking for those!). In the process, we’ll introduce features of the IntelliJ IDE.
It is always good to start with an idea of the type of input that is expected and the type of output desired.
We are going to create a new project that will take a CSV file of data from an arthritis study and then:
- Calculate the average inflammation per day across all patients.
- Plot the result to discuss and share with colleagues.
Instead of using a Jupyter notebook do to this, we will create a project using a template to start us off with good organization and show how we can make a python program that is easy to run anywhere.
Start with a plan
It is a good idea to start with an example input and example expected output, and then think about the steps that will connect them.
Example input: A csv file with inflamation data, with one line per patient, and columns representing different days, e.g., for the first three patients: ~~0,0,1,3,1,2,4,7,8,3,3,3,10,5,7,4,7,7,12,18,6,13,11,11,7,7,4,6,8,8,4,4,5,7,3,4,2,3,0,0 0,1,2,1,2,1,3,2,2,6,10,11,5,9,4,4,7,16,8,6,18,4,12,5,12,7,11,5,11,3,3,5,4,4,5,5,1,1,0,1 0,1,1,3,3,2,6,2,5,9,5,7,4,5,4,15,5,11,9,10,19,14,12,17,7,12,11,7,4,2,10,5,4,2,2,3,2,2,1,1~~
Example output: It can be helpful to make an example output, e.g.
“by hand” (what I call doing things in Excel or another method well) on
a subset of the data, such as the three lines above. We can tweak the
desired output (e.g. how the plot looks) but a good idea of the end goal
is very useful. 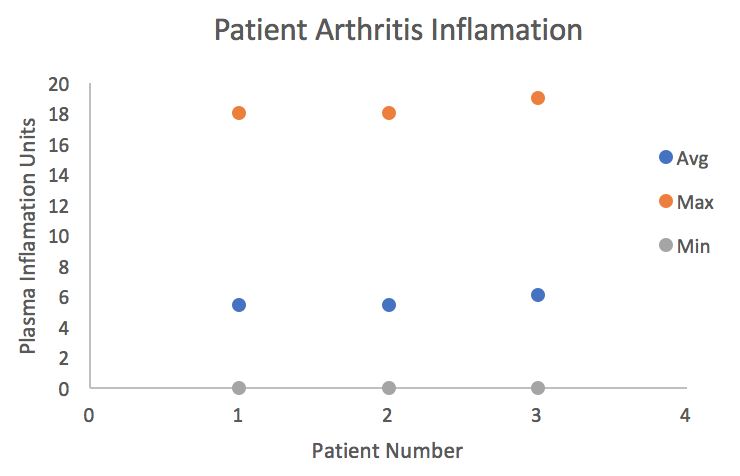
Rough plan:
- Give the program the name of the file
- Have the program read in data
- Calculate average, min, and max values per patient
- Plot results
In the process, we will be learning about numpy, IDEs, reading and writing data, and more!
Note: This walk-through can serve as excellent example of the type of project that you will turn in by November 18 (feel free to turn it in earlier). The main objective is for you to write a well-structured, documented python program to complete a task that will be helpful for your classes or research. More details about this project, which will be due Nov. 21, will be posted at the same time as HW05, on Monday, October 1.
Getting started
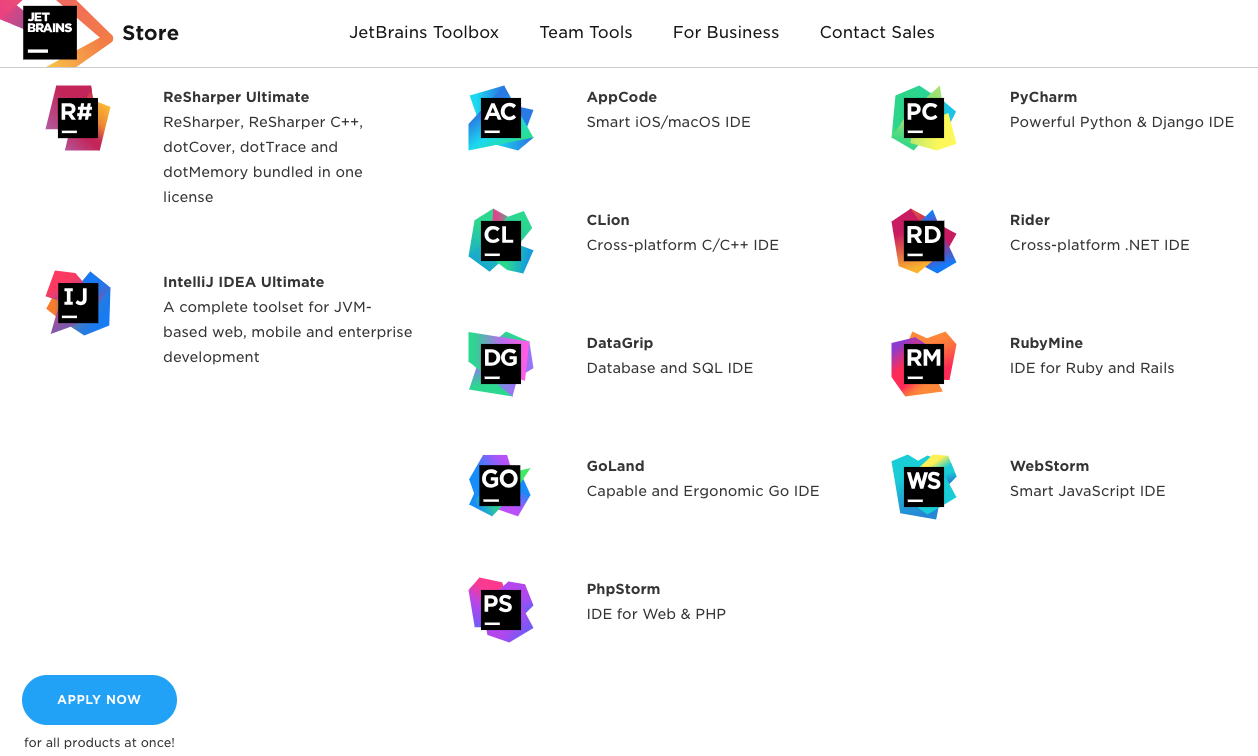
You likely already completed the first required steps: downloaded the professional version of IntelliJ from the link https://www.jetbrains.com/student/:
 …
… 
We won’t be starting from an empty project, but instead a cookie-cutter project that has a set of files and organizing directories. To download it, you will need to install:
conda install cookiecutter
Cookiecutter FTW

Cookiecutter
Wouldn’t it be nice to set up a project with all the files you normally want to have (e.g LICENSE, README, .gitignore with default entries, etc.) and a nice structure for your project?
So many want this, and Cookiecutter is a library to help you set up your own structure from scratch or start from a cookiecutter template started by another group.
We’ll do the later; it is always a good idea to benefit from others’ efforts when it will save you some time, and in this case, provide some ideas about what makes a good project structure.
We’ll download a cookiecutter project based on another project from a group that does computational chemistry and molecular dynamics and cares about best practices in software development.
$ cookiecutter gh:team-mayes/cookiecutter-compchem
project_name [project_name]: arthritis_proj
repo_name [arthritis_proj]:
first_module_name [arthritis_proj]: data_proc
author_name [Your name (or your organization/company/team)]: hbmayes
description [A short description of the project.]: Demo including processing data from a csv
Select open_source_license:
1 - MIT
2 - BSD-3-Clause
3 - LGPLv3
4 - Not Open Source
Choose from 1, 2, 3, 4 (1, 2, 3, 4) [1]:
Select dependency_source:
1 - Prefer conda-forge over the default anaconda channel with pip fallback
2 - Prefer default anaconda channel with pip fallback
3 - Dependencies from pip only (no conda)
Choose from 1, 2, 3 (1, 2, 3) [1]:
Select Include_Windows_continuous_integration:
1 - y
2 - n
Choose from 1, 2 (1, 2) [1]:
Initialized empty Git repository in /Users/hbmayes/bee/code/python/arthritis_proj/.git/
[master (root-commit) 3d81ff9] Initial commit after Comp. Chem. Cookiecutter creation
 30 files changed, 3238 insertions(+)
 create mode 100644 .codecov.yml
 create mode 100644 .github/CONTRIBUTING.md
 create mode 100644 .github/PULL_REQUEST_TEMPLATE.md
 create mode 100644 .gitignore
 create mode 100644 .travis.yml
 create mode 100644 LICENSE
 create mode 100644 README.md
 create mode 100644 appveyor.yml
 create mode 100644 arthritis_proj/__init__.py
 create mode 100644 arthritis_proj/_version.py
 create mode 100644 arthritis_proj/data/README.md
 create mode 100644 arthritis_proj/data/look_and_say.dat
 create mode 100644 arthritis_proj/data_proc.py
 create mode 100644 arthritis_proj/tests/__init__.py
 create mode 100644 arthritis_proj/tests/test_arthritis_proj.py
 create mode 100644 devtools/README.md
 create mode 100644 devtools/conda-recipe/bld.bat
 create mode 100755 devtools/conda-recipe/build.sh
 create mode 100644 devtools/conda-recipe/meta.yaml
 create mode 100755 devtools/travis-ci/before_install.sh
 create mode 100644 docs/Makefile
 create mode 100644 docs/README.md
 create mode 100644 docs/_static/README.md
 create mode 100644 docs/_templates/README.md
 create mode 100644 docs/conf.py
 create mode 100644 docs/index.rst
 create mode 100644 docs/make.bat
 create mode 100644 setup.cfg
 create mode 100644 setup.py
 create mode 100644 versioneer.py
FYI: only the first time you are getting a copy of the cookiecutter
template from a remote location (in this case, gb = github), do you need
to specify the remote location (as done in
cookiecutter gh:team-mayes/cookiecutter-compchem). After that, if
you do the same command again, you will get a warning than you are going
to redownload and overwrite the template from before. Instead, you can
just make a copy of the template that you’ve already made local by
removing the reference to the remote location (e.g.
cookiecutter cookiecutter-compchem).
Explore the templated project with IntelliJ
Clicking the cube icon at the top of my screen shows me the IntelliJ programs I can open. I can use either IDEA Ultimate or PyCharm. At least previous versions of PyCharm did not include all the functionality in IDEA Ultimate; this may have been fixed. I still use IDEA Ultimate because:
- I have plenty of memory so I can easily load this larger program
- IDEA Ultimate has all the functionality of PyCharm plus support for other languages, and I like having all of that available so I can switch between projects.
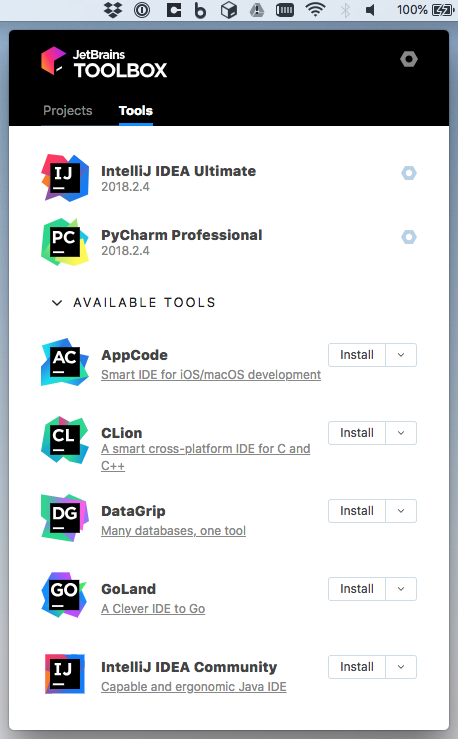
Jetbrains toolbox
FYI: The free version for students and faculty is licensed for one year. After a year, you can use any .edu email address to re-up the license.
If you are using IntelliJ programs for for-profit projects, then pay the
license. Many software development companies buy licenses because it is
worth the efficiency boost. 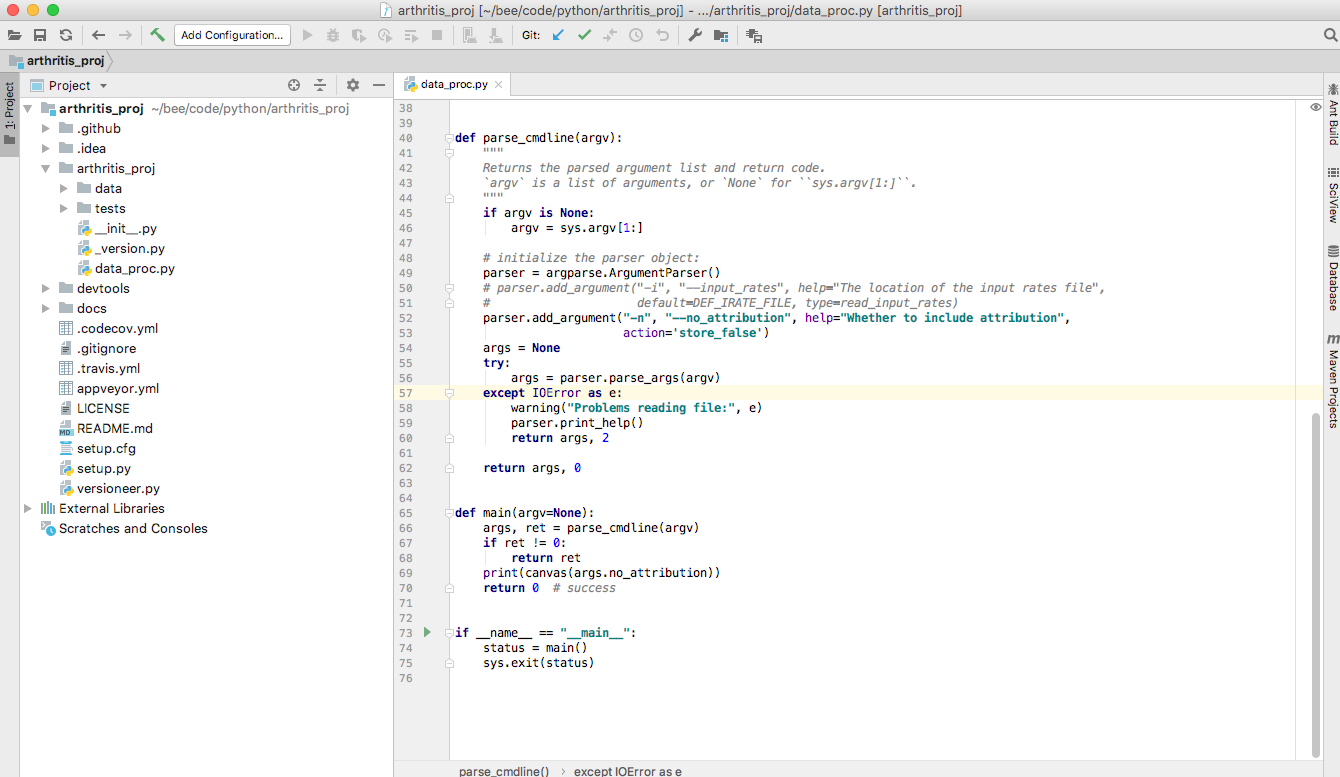
Now, let’s open the existing project with Open. 
FYI: make sure you are opening the top-level folder, the one with the
.git directory in it. 
The first time you open IDEA Ultimate, you will get a series of
suggestions of what you should do next. In this case, it notes the
.py extension and recognizes that it has a plug-in to allow is
asking us to install a plug-in that recognizes python syntax. Let’s
install it! 
Before we installed it, there were no events in the Event Log
(bottom right corner of the screen above. Now that I installed the
python plugin, I have some events. I double-click on Event Log to
see what they are, and follow the recommendation to restart IntelliJ.

After doing so, see the nice syntax highlighting in my .py file?

We also have a warning that we need to configure our python editor.
Click on the project name, and press F4. That will bring up the Project Structure Window. Let’s choose Python 3 for our SDK for both the Project Settings and Platform settings.


After pressing OK, the python interpreter warning should disappear.
Let’s start looking around the folders. Click the arrow next to
.idea so that the files within the directory are shown.
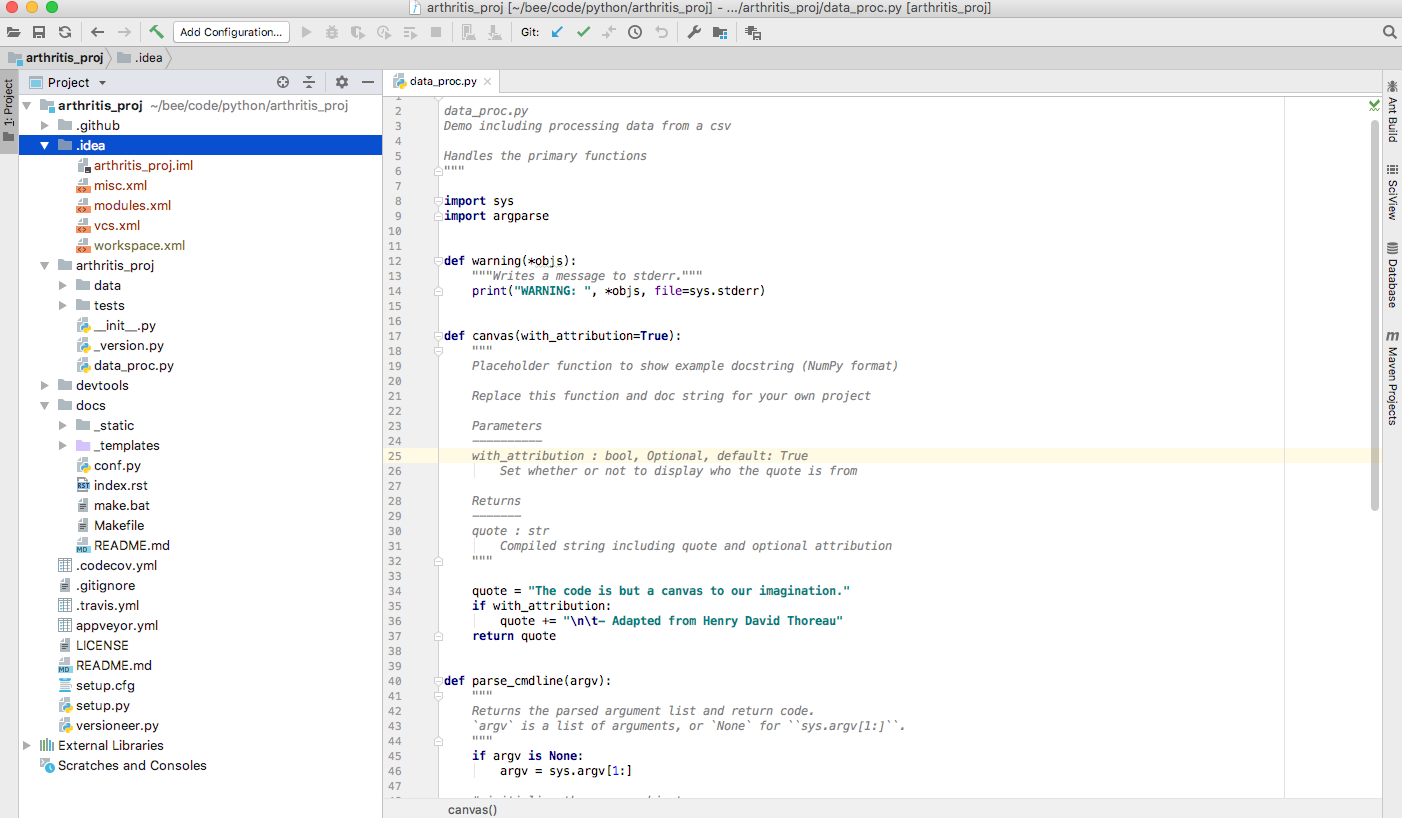
IDEA Ultimate
The red means that the files are not being tracked with Git (IntelliJ IDEs are highly integrated with Git). These are configuration files that we don’t want to track as part of the package that we’ll share on GitHUb.
- Why isn’t the directory red?
- What should I do to have the files in the folder ignored by git?
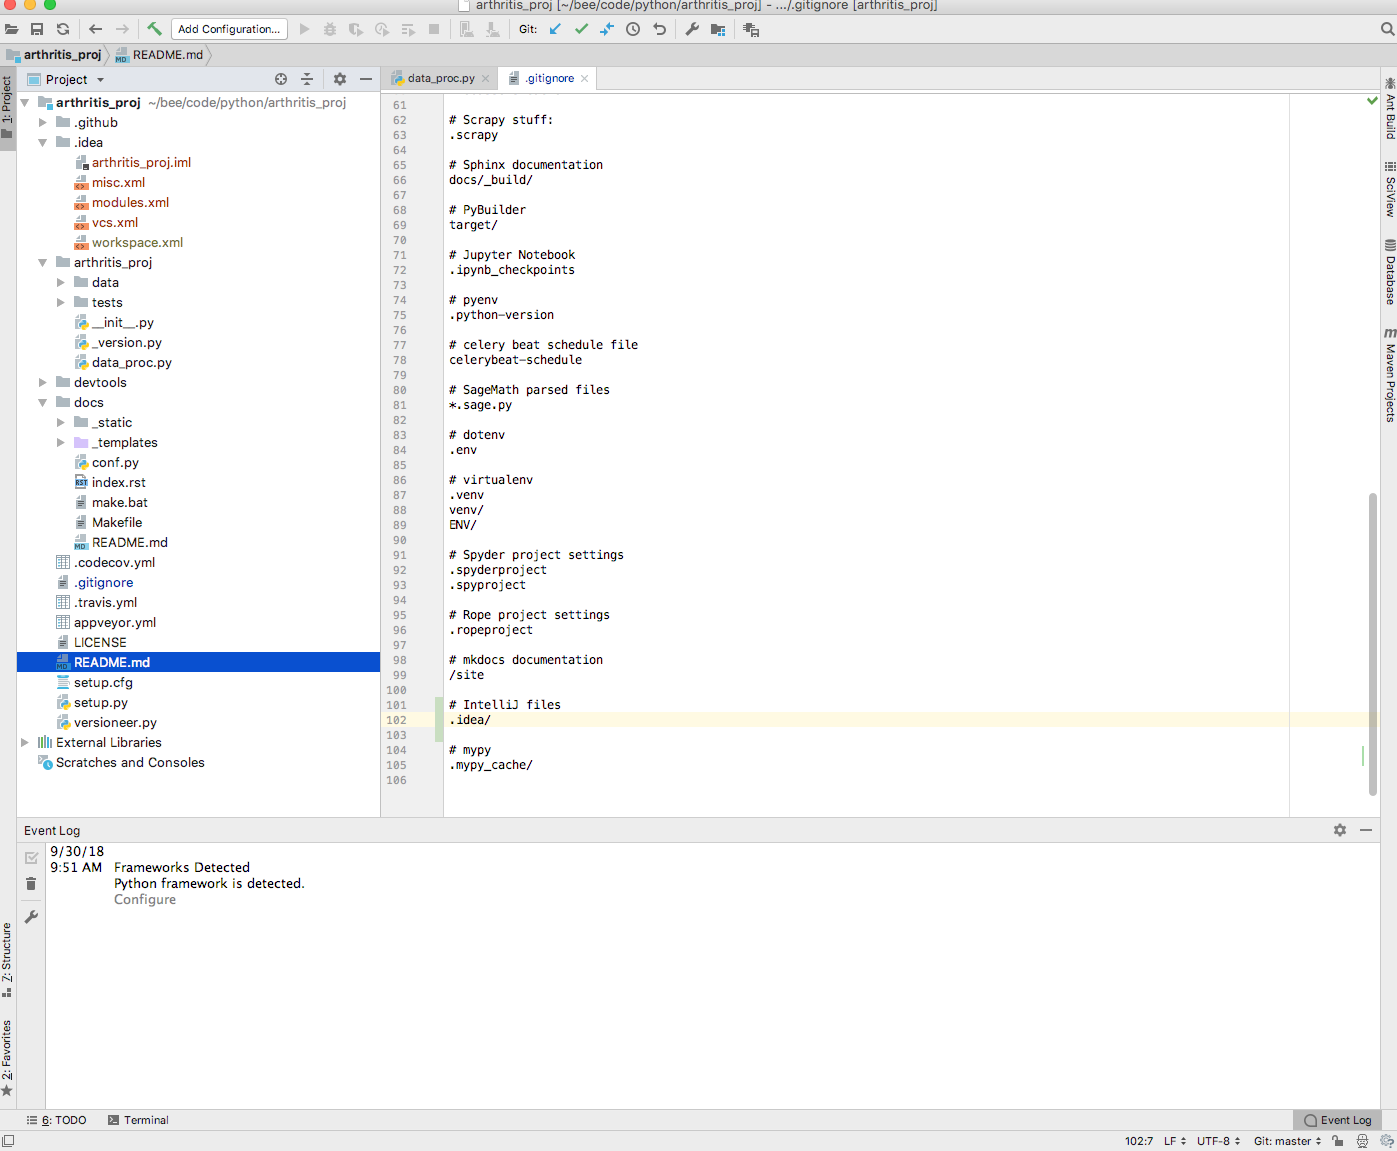
IDEA Ultimate
FYI: if there are other problems, like a warning above that we need to configure our files, the suggestions by IntelliJ are generally, well, intelligent. Go ahead and accept its suggestions.
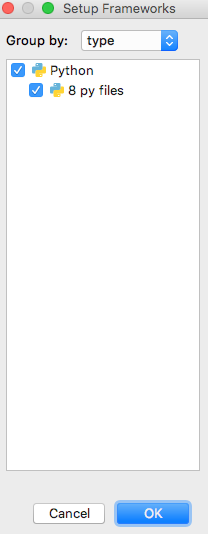
IDEA Ultimate
Back to exploring the project: Note above that .gitignore turned blue.
This indicaes that a tracked file has been changed. When a file is
staged to be committed, it will turn green. When there are no untracked
files that are not in .gitignore and no differences between the
current versions of tracked files and those files state in HEAD, all
files will be in black.
To stage and commit our changes, we can go to our terminal, or note that
at the bottom left of the screen, there is an option to show a terminal.
Let’s use it to stage and commit the change to .gitignore.
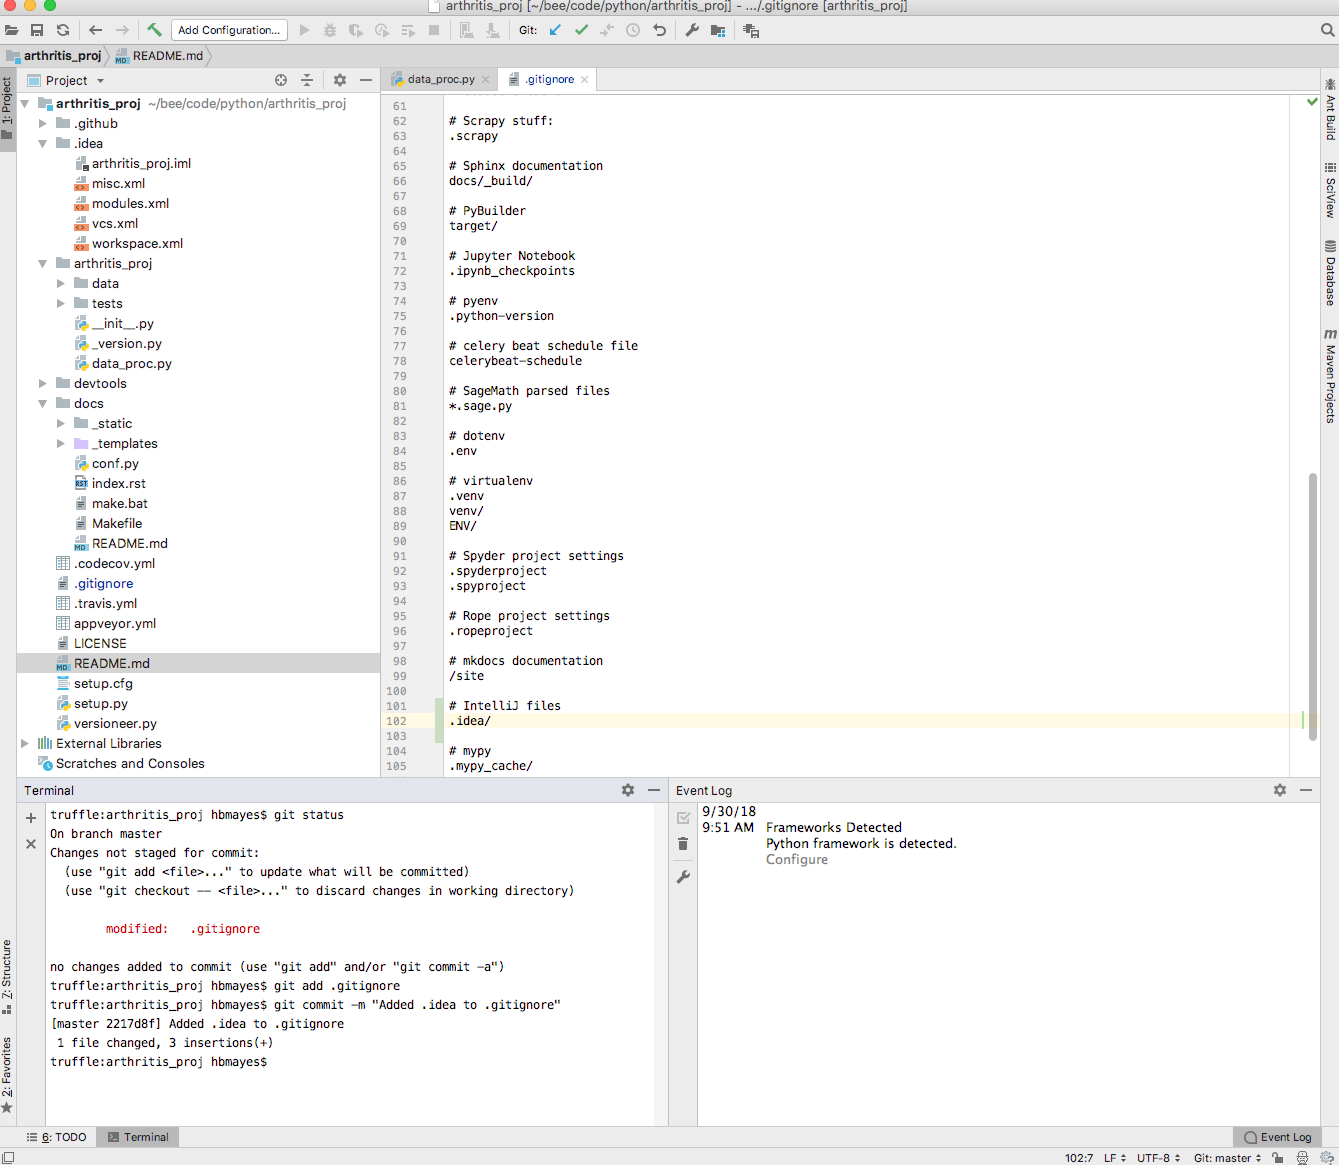
IDEA Ultimate
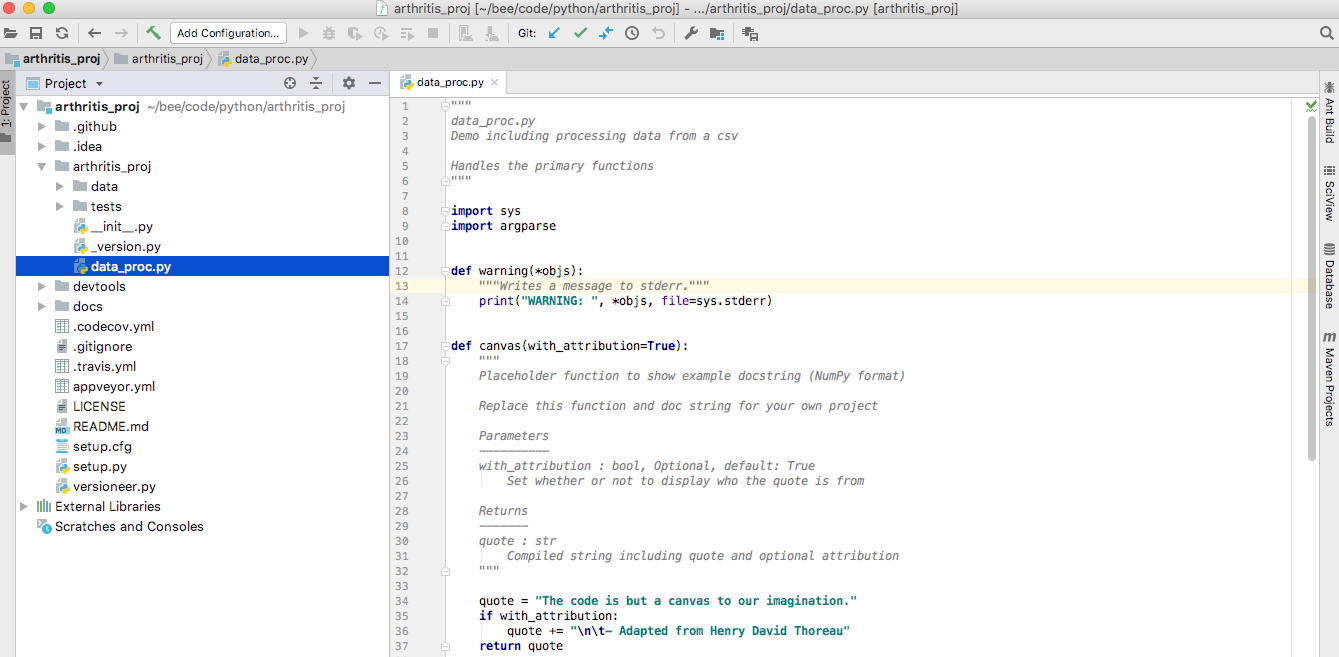
For now, we can ignore all folders except the arthritis_proj. Note that
this is standard–to have a folder with the same name as the project that
will hold your python scripts, such as the data_proc.py script that
I defined when I was setting up the project with cookiecutter. Let’s see
what cookiecutter has set up for us, starting at the top, with the
description and imports, and the green check that says that the code
passes all the tests IntelliJ is looking for, such as proper indents,
following PEP8 code for variable names.
Note that the description we gave it is included in the comments at the top of the code. We can modify it as we add functionality.
IDEA Ultimate
Now scroll to the bottom. Customarily, the flow will start at the
bottom, with a main function, and other functions that are called
will be above it. Let’s follow the logic starting from main; see that it
first calls parse_cmdline(argv), which, as you might hope, parses
any flags on the command line into arguments that will be stored in
args. It also returns a return message that flags whether any errors
were found. 
To be continued!