11) Automated testing and packaging your project
FYI: Continuous integration
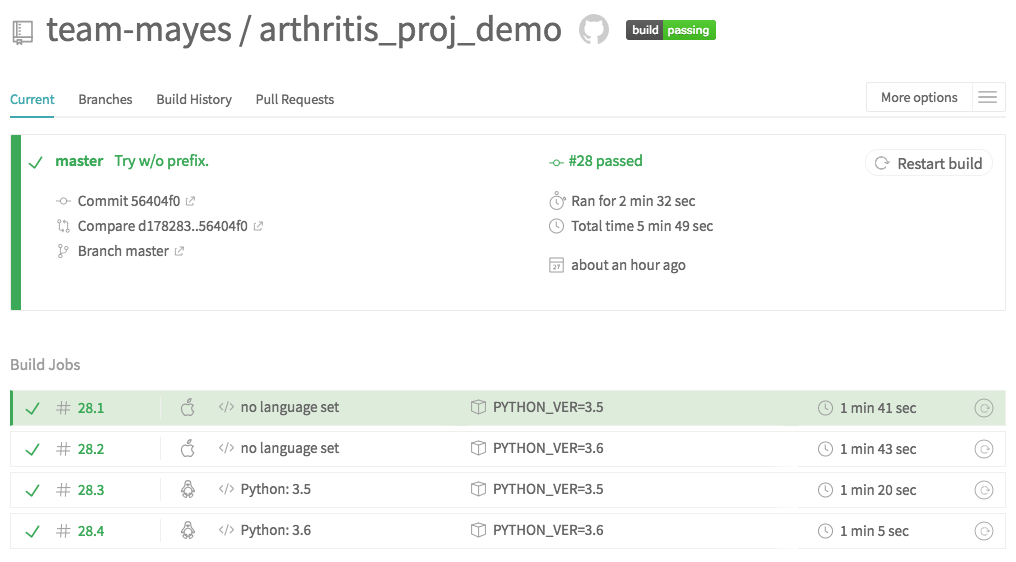
Wouldn’t it be nice if every time we pushed to GitHub, all of our tests were run and we got a report on whether they passed?
So many people want this that there are multiple tools to help you do so. A commonly used one is Travis CI. Start by signing up at https://travis-ci.org/ and follow the directions to hook it to your GitHub account. We are using the free version so it does not prioritize running our tests, but they will run eventually, and you’ll get a report as to whether all tests pass on its system.


Setting up your package to run anywhere
First, we need a place where we will have all our programs on our
computer, that our OS will look at to find them. See if you already have
the folder: $HOME/.local/bin. If not, please create it.
We also need to tell bash that this is a place to look for code. Find where your PATHs are noted (either .bashrc or .bash_profile) and add this line: ~~PATH=:math:`PATH:HOME/.local/bin`~~
Save and source the file (e.g. . .bashrc).
Now, in your python project, go to setup.py in the main directory
for your project. Make sure that the following line is there:
In [1]:
    entry_points={'console_scripts': ['data_proc = arthritis_proj.data_proc:main',
                                      ],
                  },     package_dir={'arthritis_proj': 'arthritis_proj'}, install_requires=['numpy', 'matplotlib']
  File "<ipython-input-1-6410d1927269>", line 1
    entry_points={'console_scripts': ['data_proc = arthritis_proj.data_proc:main',
                ^
SyntaxError: can't assign to literal
These entry_points are how we will invoke the project on the command
line (type data_proc to launch arthritis_proj.data_proc:main).
Now, open the terminal to the main directory and run
python setup.py sdist
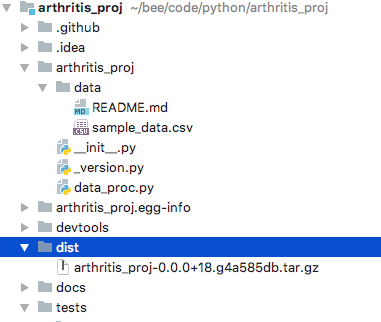
If this is your first time running the command, it will create the
folder dist. Let’s look there; you should see a .tar.gz file
there.

Screen shot
This is a rather log name. It is identifying exactly which git version is associated with this tarball. Let’s give it a nicer looking name by adding a tag:
git tag -a 'ver0.0' -m 'Initial version with tests'
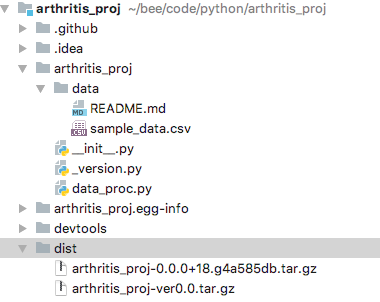
Again running python setup.py sdist we see a nicer name, and will
delete the old one.

Screen shot
Now, let’s install the package!
pip install dist/arthritis_proj-ver0.0.tar.gz --user
Note: We can copy this tarball to any other system and install it in the
same way. After the first time you install the project, you’ll want to
add the --upgrade flag after install.
Let’s check that this worked. First, let’s see if data_proc is now
in $HOME/.local/bin. It is! Hooray!
Now, I’m going to go to an entirely different directory and make a file
data.csv with the following data: ~~1,2,3,4,5 6,7,8,9,10
3,6,8,2,1 6,2,9,2,0~~
In that directory, all I need to do is enter data_proc, and the
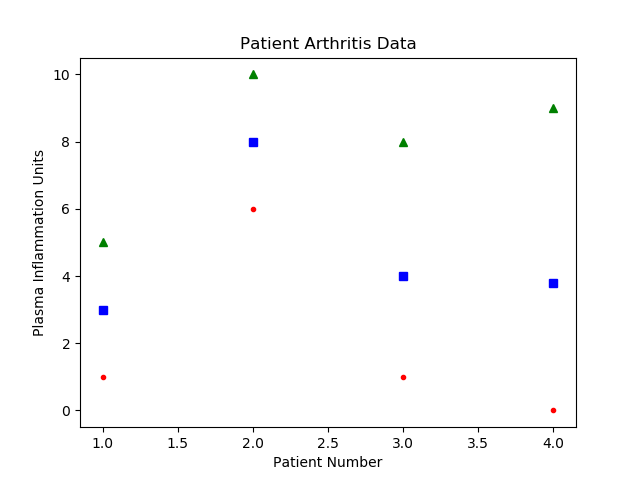
program runs! ~~~ truffle:hw_solutions hbmayes$ data_proc Wrote file:
data_stats.csv Wrote file: data_stats.png ~~~

Output
Next steps
We continue building on your programming skills, going more into helpful libraries including numpy and pandas.